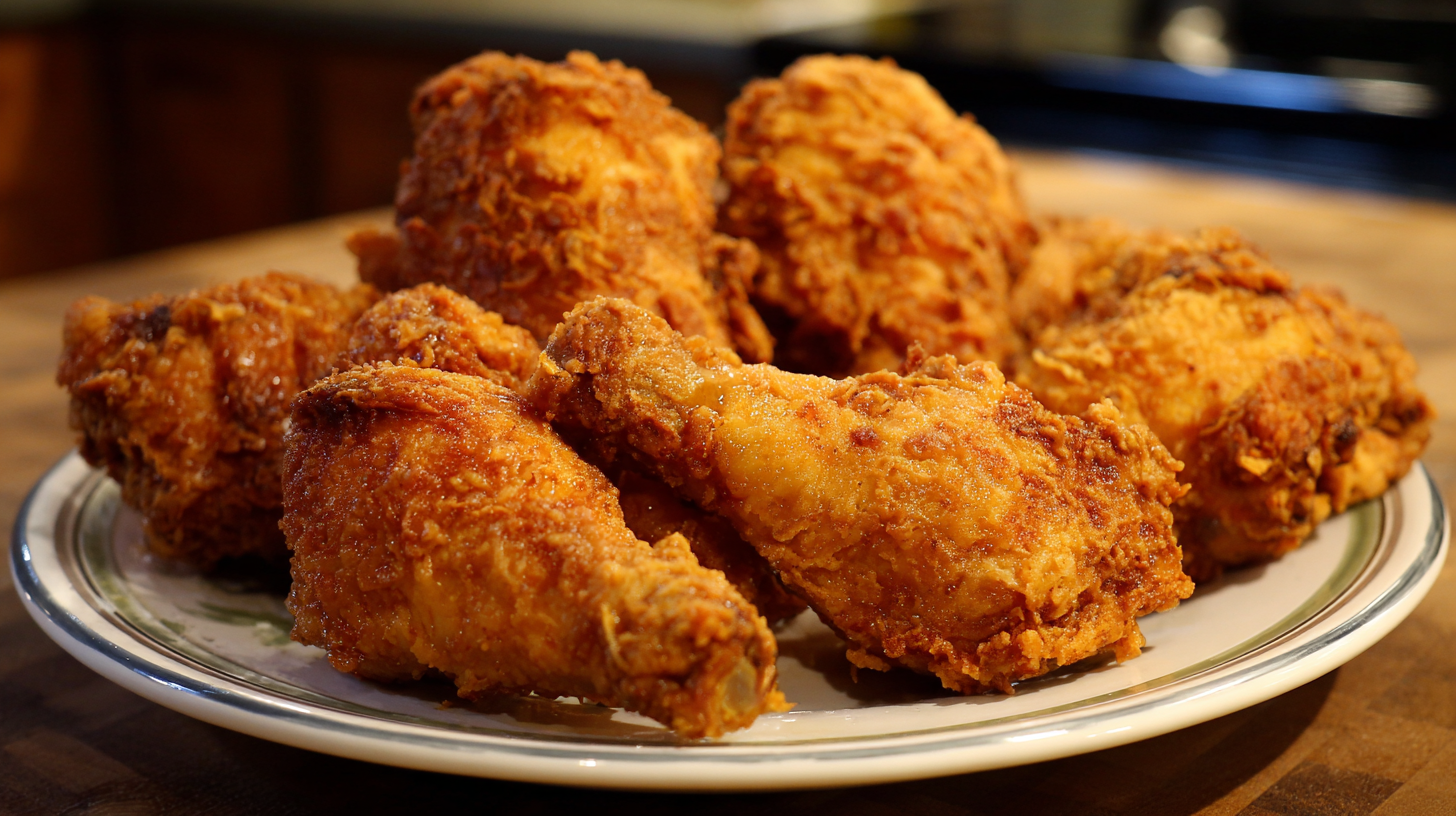
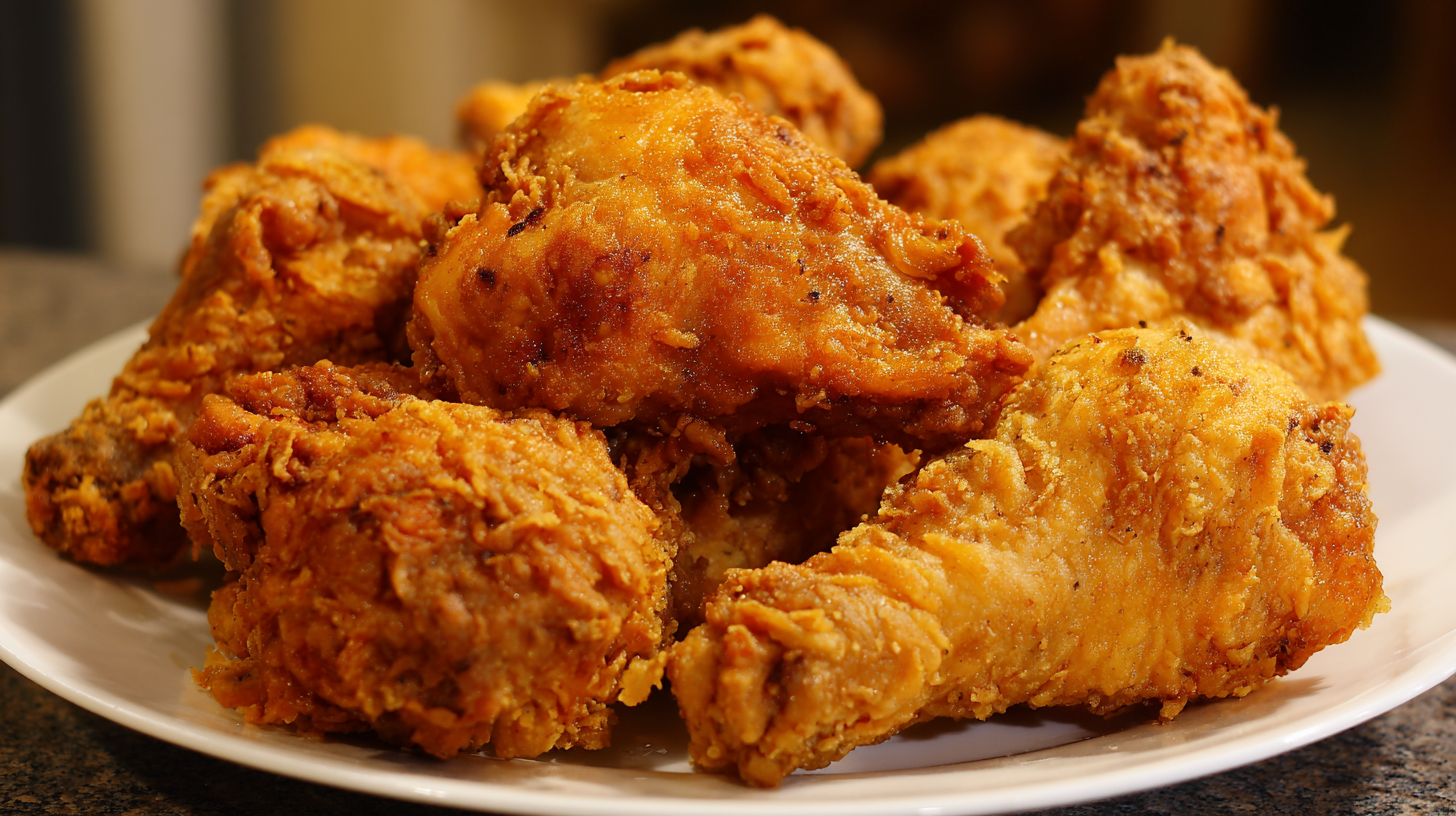
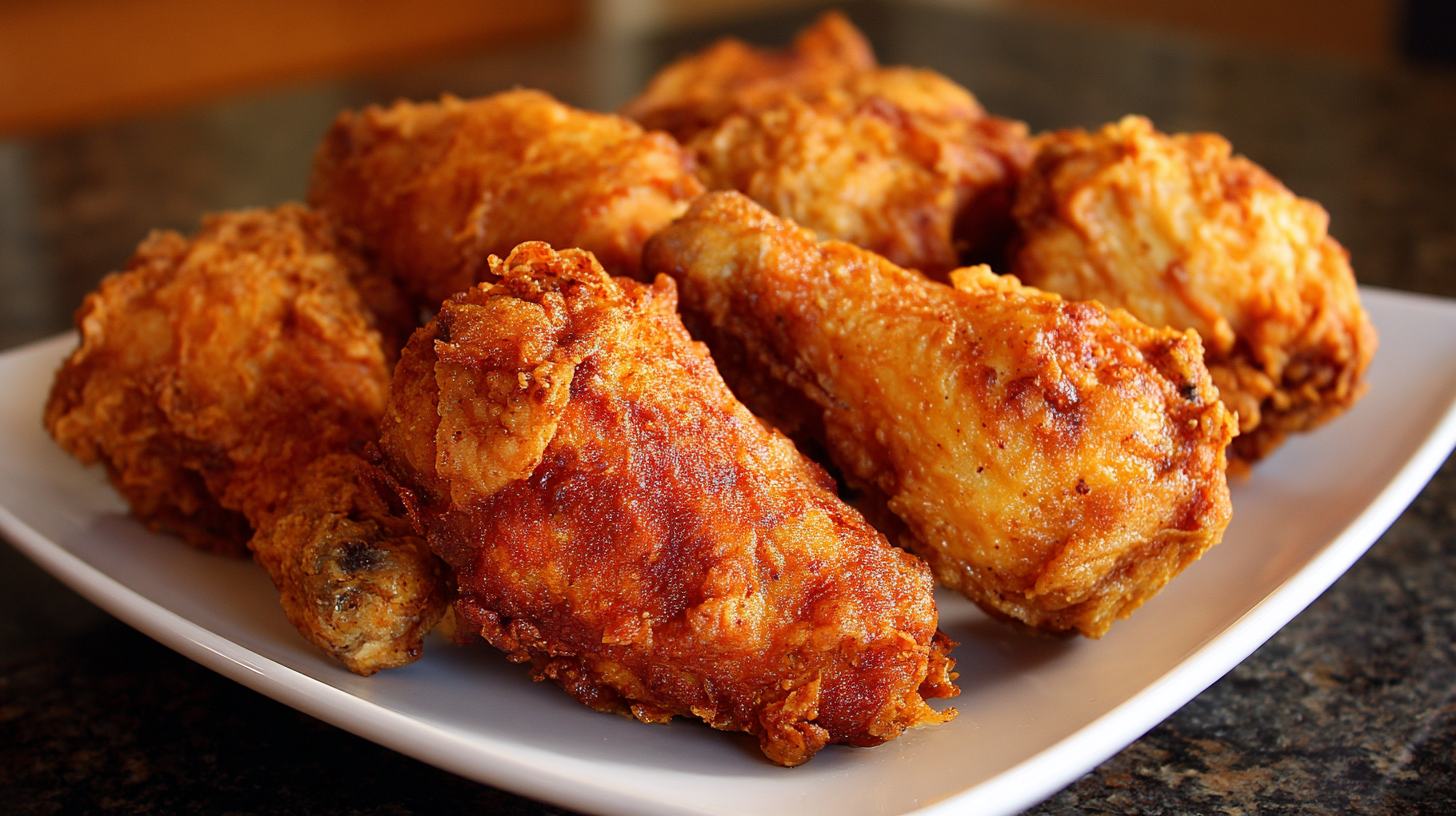
Crispy, Golden, Irresistible: Homemade Fried Chicken
The allure of perfectly fried chicken is undeniable. That satisfying crunch, the juicy tenderness within, and the burst of savory flavor combine to create an experience that’s hard to resist. While takeout is convenient, mastering homemade fried chicken allows you to customize the flavors, control the ingredients, and enjoy the unmatched satisfaction of creating a truly exceptional meal. This guide will walk you through the essential steps to achieving crispy, golden, and irresistible fried chicken in your own kitchen.
I. The Foundation: Preparing Your Chicken
The quality of your fried chicken starts long before it hits the hot oil. Proper preparation is key to ensuring even cooking, optimal flavor absorption, and that signature crispy crust.
Choosing the Right Chicken
Selecting the right chicken pieces is crucial. Bone-in, skin-on chicken parts, such as drumsticks, thighs, and wings, are ideal for frying due to their higher fat content, which contributes to both flavor and moisture. While boneless, skinless chicken breasts can be fried, they are more prone to drying out.
Consider purchasing a whole chicken and cutting it into pieces yourself. This allows you to control the size and proportion of each piece. Alternatively, you can buy pre-cut chicken, but be sure to check the expiration date and look for pieces that are plump and evenly colored.
Brining: The Secret to Juicy Chicken
Brining is a game-changer when it comes to fried chicken. Soaking the chicken in a saltwater solution helps to season it from the inside out, tenderizes the meat, and locks in moisture during the frying process.
A simple brine consists of water and salt, but you can also add sugar, herbs, and spices to enhance the flavor. A good ratio is about 1/4 cup of salt per quart of water. Submerge the chicken in the brine and refrigerate for at least 2 hours, or up to 8 hours for best results. Avoid brining for longer than 8 hours, as the chicken can become too salty.
Pre-Frying Prep: Drying and Tempering
After brining, rinse the chicken thoroughly under cold water and pat it completely dry with paper towels. Excess moisture is the enemy of crispy skin, so this step is essential.
Allow the chicken to sit at room temperature for about 30 minutes before frying. This helps the chicken cook more evenly and prevents the oil temperature from dropping too drastically when the chicken is added.
II. The Magic of the Coating: Achieving Ultimate Crispiness
The coating is what gives fried chicken its signature crunch and golden-brown color. Experiment with different combinations of flour, seasonings, and other ingredients to find your perfect blend.
The Classic Flour Coating
A simple flour coating is a great starting point. All-purpose flour works well, but you can also use self-rising flour for a slightly lighter and fluffier crust.
Season the flour generously with salt, pepper, garlic powder, onion powder, paprika, and any other spices you enjoy. Don’t be afraid to experiment with different flavor combinations. Some popular additions include cayenne pepper for heat, dried herbs for aroma, and even a touch of sugar for sweetness.
The Double-Dredge Technique
For an extra-crispy crust, try the double-dredge technique. This involves dipping the chicken in flour, then in a liquid (such as buttermilk or egg wash), and then back in the flour. The double coating creates a thicker, more substantial crust that holds up well during frying.
Buttermilk is a classic choice for the liquid component, as its acidity helps to tenderize the chicken and adds a subtle tang. Alternatively, you can use an egg wash (egg beaten with a little water or milk) or even a combination of both.
Adding Texture and Flavor
To add even more texture and flavor to your coating, consider incorporating ingredients like cornstarch, breadcrumbs, or crushed crackers. Cornstarch helps to create a lighter and crispier crust, while breadcrumbs and crackers add extra crunch.
You can also experiment with adding finely ground nuts or seeds to your coating for a unique flavor and texture.
III. The Art of Frying: Mastering the Heat
Frying is where the magic happens. Mastering the technique requires careful attention to detail, including selecting the right oil, maintaining the correct temperature, and avoiding overcrowding the pan.
Choosing the Right Oil
The type of oil you use can significantly impact the flavor and texture of your fried chicken. Oils with a high smoke point and neutral flavor are ideal.
Peanut oil is a classic choice for frying chicken, as it has a high smoke point and imparts a subtle nutty flavor. Other good options include canola oil, vegetable oil, and sunflower oil. Avoid using olive oil, as it has a lower smoke point and can impart a strong flavor.
Maintaining the Correct Temperature
Maintaining the correct oil temperature is crucial for achieving evenly cooked and crispy fried chicken. The ideal temperature range is between 325°F and 350°F (160°C and 175°C).
Use a deep-fry thermometer to monitor the oil temperature closely. If the oil is too hot, the chicken will brown too quickly on the outside and remain raw on the inside. If the oil is not hot enough, the chicken will absorb too much oil and become greasy.
Frying Techniques: Pan-Frying vs. Deep-Frying
There are two main frying methods: pan-frying and deep-frying. Pan-frying involves cooking the chicken in a shallow layer of oil in a skillet, while deep-frying involves submerging the chicken completely in oil in a deep fryer or large pot.
Pan-frying is a good option for smaller batches of chicken, as it requires less oil. Deep-frying is more efficient for larger batches, as it ensures that the chicken cooks evenly on all sides.
Preventing Overcrowding
Avoid overcrowding the pan or deep fryer, as this will cause the oil temperature to drop and the chicken to steam instead of fry. Fry the chicken in batches, making sure to leave enough space between each piece.
IV. Finishing Touches: Achieving Perfection
Once the chicken is cooked through and golden brown, it’s time for the finishing touches. This includes draining the excess oil, seasoning to taste, and serving with your favorite sides.
Draining and Cooling
Remove the fried chicken from the oil and place it on a wire rack lined with paper towels. This allows the excess oil to drain away and prevents the chicken from becoming soggy.
Let the chicken cool slightly before serving. This allows the juices to redistribute throughout the meat, resulting in a more tender and flavorful final product.
Seasoning and Serving
Season the fried chicken to taste with salt and pepper, or any other desired seasonings. You can also sprinkle it with fresh herbs, such as parsley or thyme, for added flavor and visual appeal.
Serve the fried chicken immediately while it’s still hot and crispy. Pair it with your favorite sides, such as mashed potatoes, coleslaw, biscuits, or corn on the cob.
V. Troubleshooting and Tips for Success
Even with the best recipe and techniques, things can sometimes go wrong. Here are some common problems and solutions:
- Chicken is not crispy: Ensure the chicken is completely dry before coating, use a double-dredge technique, and maintain the correct oil temperature.
- Chicken is greasy: Make sure the oil temperature is hot enough, avoid overcrowding the pan, and drain the chicken well on a wire rack.
- Chicken is raw inside: Use a meat thermometer to check the internal temperature (165°F or 74°C), and adjust the cooking time accordingly.
- Coating is falling off: Ensure the chicken is properly coated and that the oil temperature is not too low.
Tips for Success:
- Use a meat thermometer to ensure the chicken is cooked through.
- Fry the chicken in batches to avoid overcrowding the pan.
- Don't be afraid to experiment with different seasonings and flavors.
- Practice makes perfect! The more you fry chicken, the better you'll become.
People also ask:
- What is the best oil for frying chicken? Peanut, canola, and vegetable oil are all good options due to their high smoke points and neutral flavors.
- How do you keep fried chicken crispy? Drain the chicken on a wire rack and serve it immediately. You can also keep it warm in a low oven (200°F) to maintain crispness.
- How long does fried chicken last? Fried chicken is best eaten fresh, but it can be stored in the refrigerator for up to 3-4 days.
- How do you reheat fried chicken? Reheat in the oven at 350°F (175°C) for about 15-20 minutes, or until heated through.
- What is the best way to brine chicken? A simple brine consists of water and salt, but you can add sugar, herbs, and spices for added flavor.